How to Measure a Room for a Floor Plan
A room measurement is more useful when its endpoints are clear. Write down what each number represents: inside wall face to inside wall face, an opening…
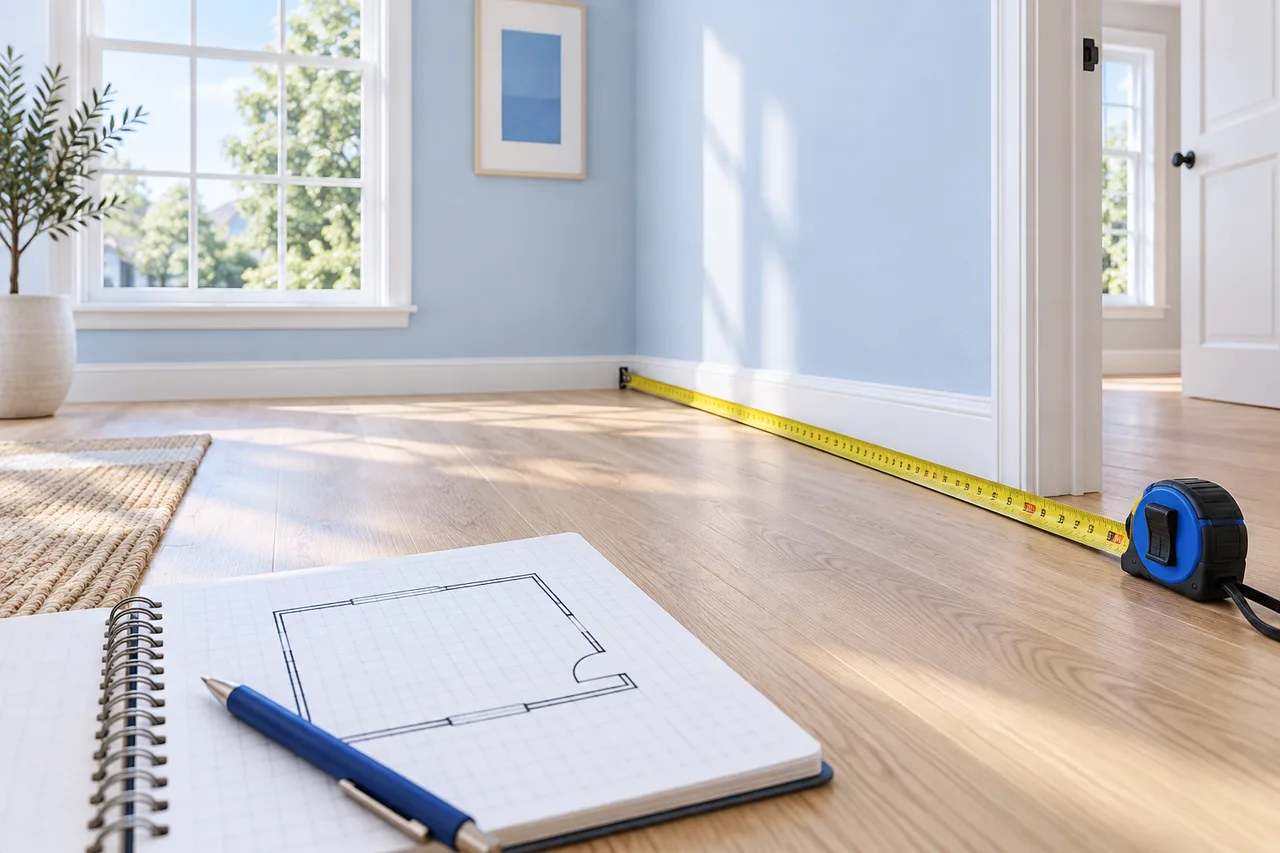
A room measurement is more useful when its endpoints are clear. Write down what each number represents: inside wall face to inside wall face, an opening width, or a distance from a corner to a fixed feature. A list of unexplained numbers is difficult to turn into a reliable plan later.
Make a rough sketch first and label its corners. Keep the sketch and the measurements together throughout the drawing process.
Start with the main dimensions
Measure the overall internal width and depth of a simple rectangular room. Use a consistent height and reference where practical, and note obvious irregularities instead of forcing every side into a perfect rectangle.
If opposite sides appear different, check again. The room may be irregular, or the measurement may have used different endpoints. A digital plan should reflect verified geometry rather than conceal a discrepancy for the sake of symmetry.
Locate openings from a fixed corner
For a door or window, record its width and its position along the wall. Measuring from a known corner to the opening is often easier to interpret than recording only the space between several unrelated objects.
For example, note a door opening as beginning 0.8 m from a particular corner and spanning 0.9 m, if those are the measured values. Keep its swing direction as a separate note. These are illustrative numbers, not recommended dimensions.
Record projections and fixed fittings
Include columns, chimney breasts, built-in cupboards, radiators, and other objects that affect furniture placement. Record both their size and their position. A room's overall floor area does not describe every usable route within it.
Also note items above floor level when they influence a tall piece of furniture. A floor plan alone may not reveal a low sill, sloping ceiling, or overhead obstruction. Keep relevant heights with the sketch.
Cross-check before drawing
Compare the sum of measured wall segments with the overall length. If a wall is split into a corner section, an opening, and a final section, those parts should be consistent with the full measurement under the same reference convention.
Do not distribute an unexplained error across the drawing merely to make the numbers fit. Remeasure the ambiguous area or label the uncertainty. The apparent precision of coordinate inputs should not exceed the quality of the source measurements.
Enter the plan and test a familiar object
Use the floor plan creator to draw the verified boundary. Add a furniture item whose dimensions you know as a visual cross-check, while keeping the original room measurements as the source of scale.
Save the measured baseline before changing the layout. A useful project record includes the sketch, units, measurement date, assumptions, and editable plan file. If you need only a rectangle or L-shaped area, the area calculator can help with the arithmetic after the dimensions have been checked.